


Color Code Google Drive Folders (Plus Color Cheatsheets!)
share this timesaver:

Are you looking to color code Google Drive folders? Feeling like it will take too much time and you are busy enough?
I get it.
So I’ve updated this classic tutorial to feature some bonus tips on getting those colors in the exact order you would like, plus some color inspiration to save you some time.
Please click below to jump to any part of this post…there’s a lot in this one!
Color Code Google Drive Folders
Numbering Folders for the Ideal Color Order
Color Inspiration to Save You Time
Color Coding Sub Folders
Color Code Google Drive Folders
Let’s start with the color coding part first, in case you haven’t had the opportunity to try this yet.
As a teacher, it is extremely helpful to have color coded folders to organize all your subject areas and various files.
A sea of gray folders is never really ideal when you are a busy teacher try to find files on the fly:

If we add colors those folders will really stand out!
First, head to your Google Drive. Right-click to make a new folder:

Click the three dots, go to Organize, and then head to the color swatches to select a hue. Unfortunately, we cannot use custom colors for our folders. I keep requesting this feature!

You can also use a shortcut to create a new folder by click Shift + F.

If you are a fan of shortcuts like this, I have some awesome ones to share (plus some free cheat sheets to remember them all) here: 12 Shortcuts for Google Drive.
Ok, now that you are ready to color code Google Drive folders, let’s talk about numbers. I know, this post is mostly about colors…but numbers will play an important role in things as well!
Numbering your Google Drive Folders
So why numbers? If we use numbers before our folder titles, we will be able to control the order of how the appear. This means you can choose the exact shades you like and make them in your ideal color order!
For example, here are my files in the standard alphabetical order:

Even if I use the grid view, the color order is not ideal (if you like color order!):

But with numbers, I’m able to color-code by subject AND keep them in a nice rainbow order:

To add a number, right-click on a folder and select Rename (or use the Google Drive shortcut and select the folder and click the N key!):

With the folder name highlighted as above, you can now click the arrow key to the left and add a number to the front of your folder. You are ready to set your ideal order!

color inspiration to save you time
If you would like some inspiration on how to color code Google Drive folders, I have a few ideas right here for you, along with some quick cheat sheets to find those colors fast!
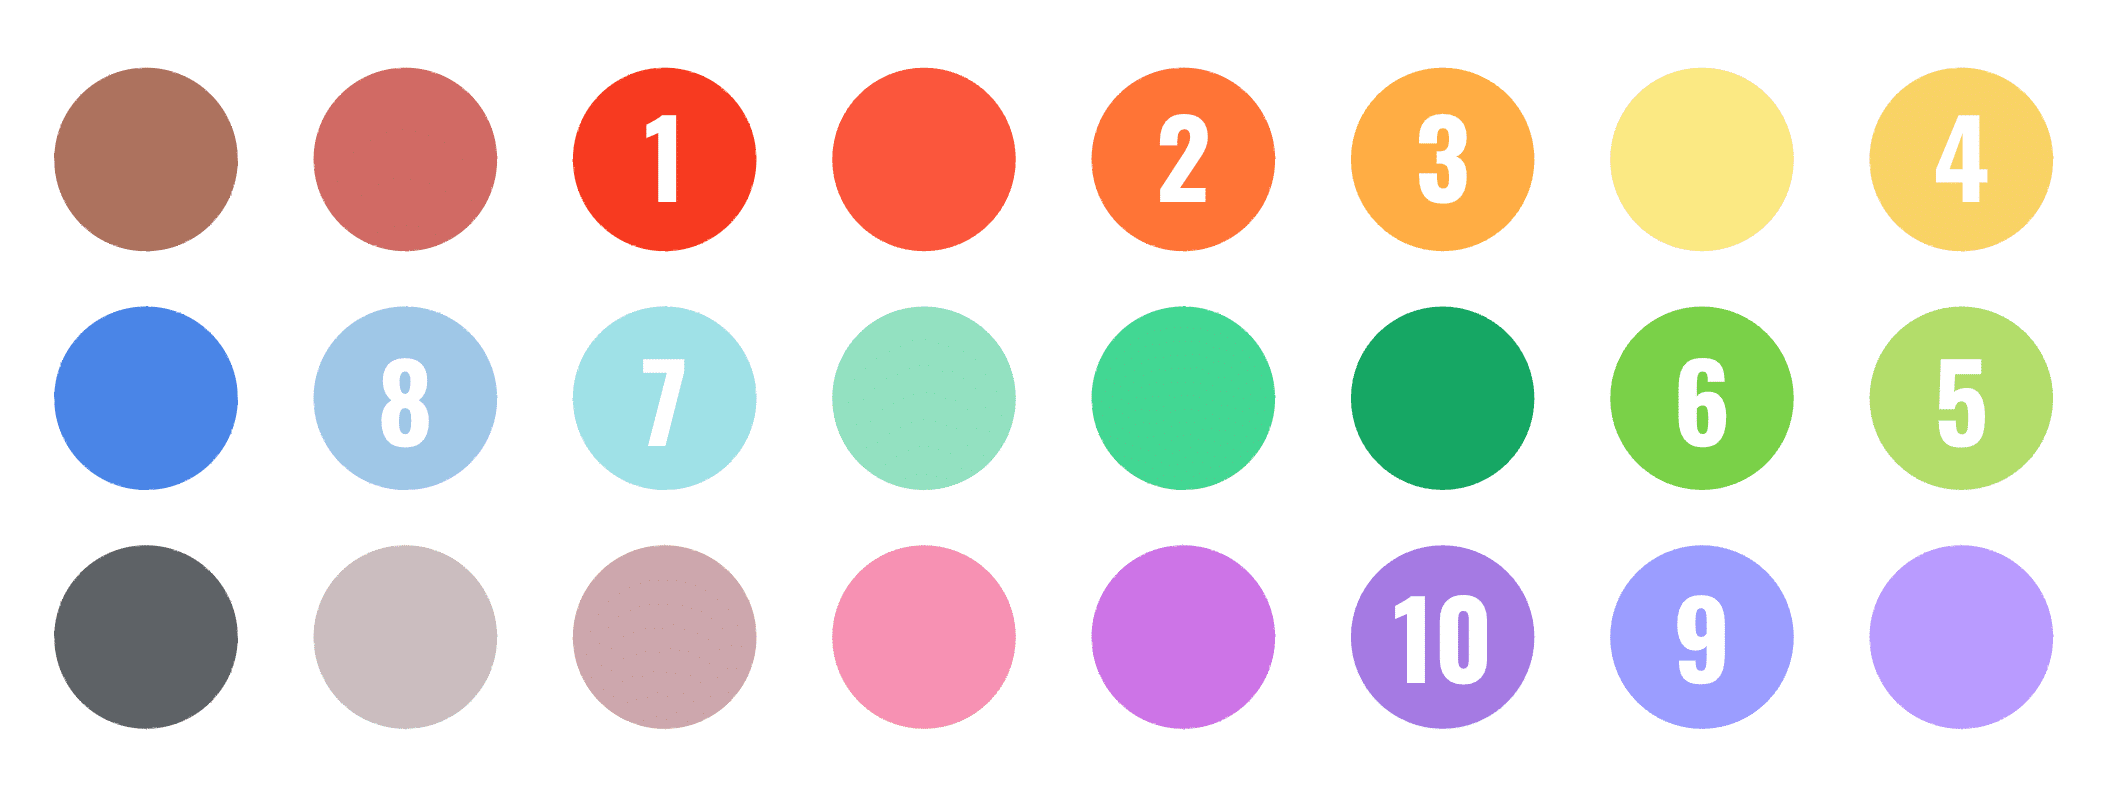
For a traditional rainbow color scheme:

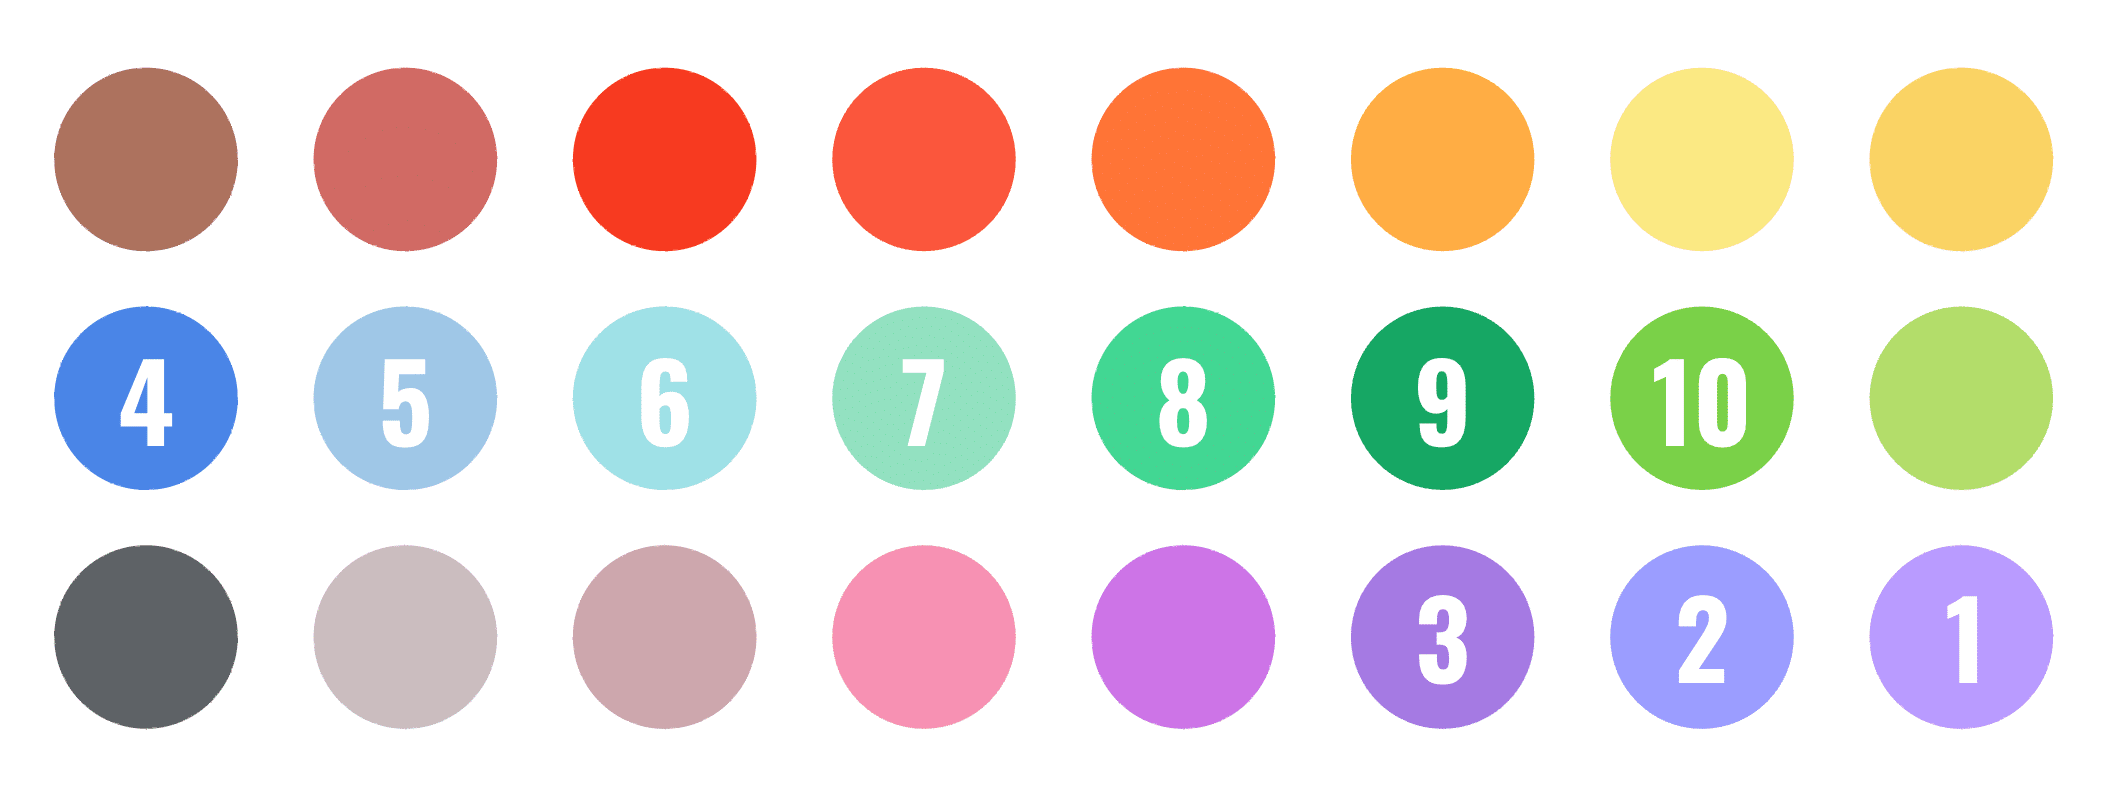
If you prefer cooler shades:

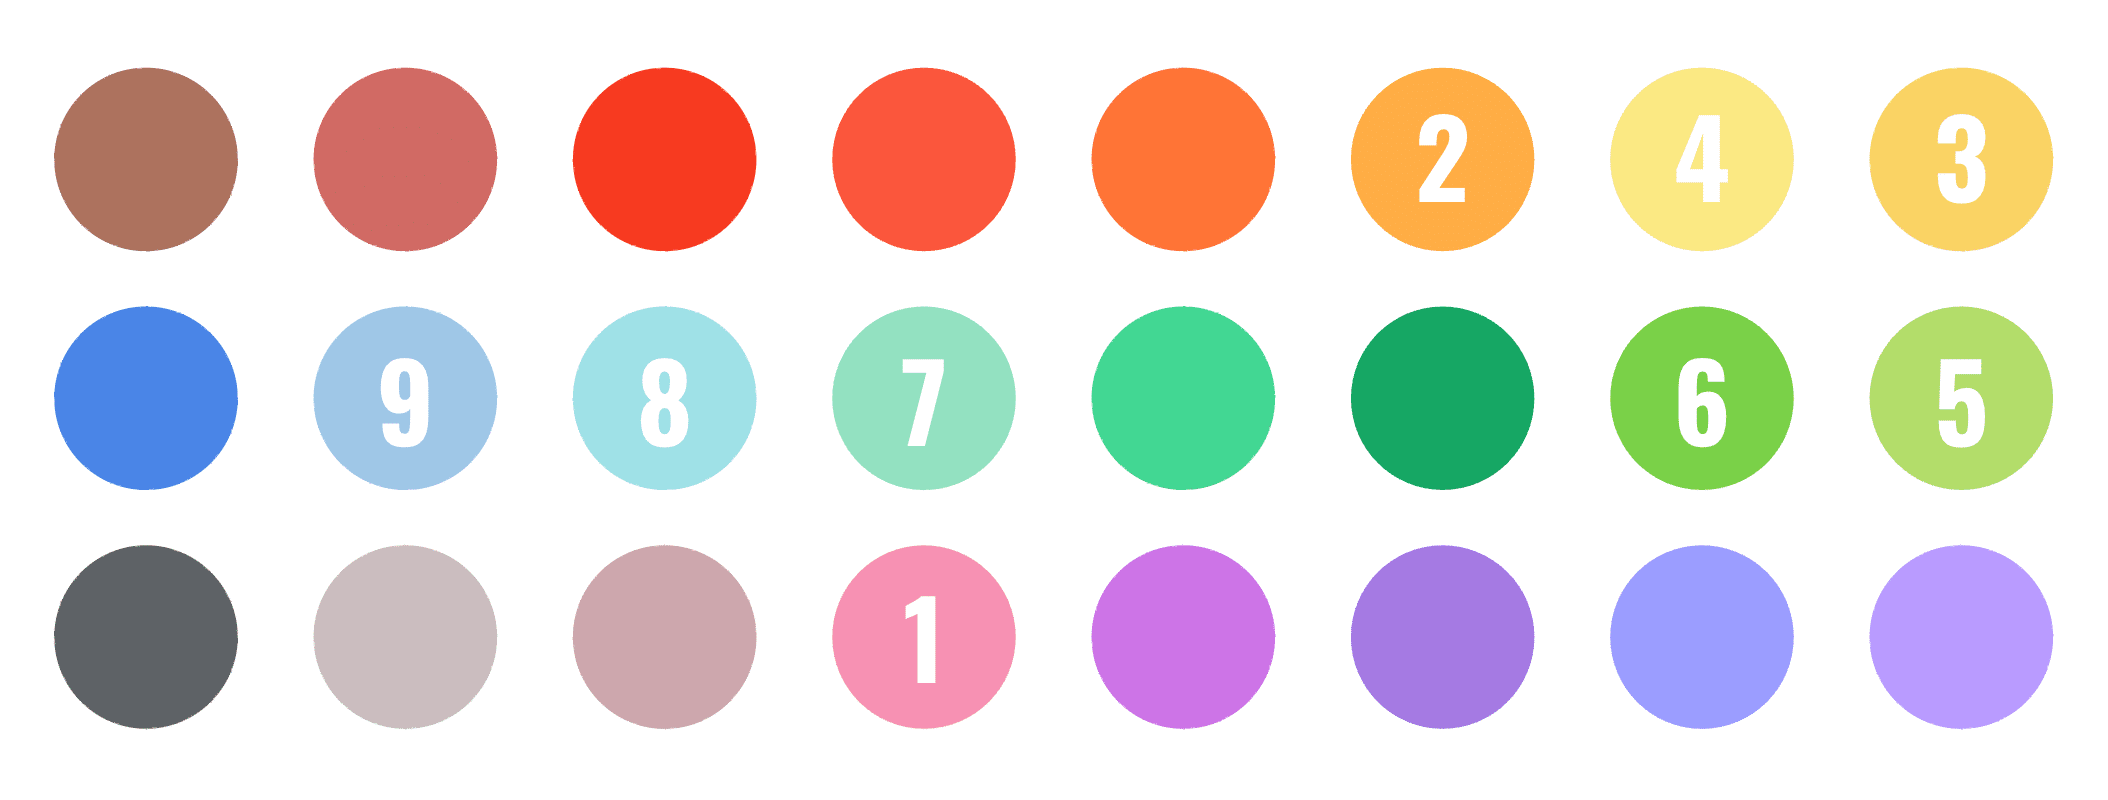
If you prefer softer rainbow colors:

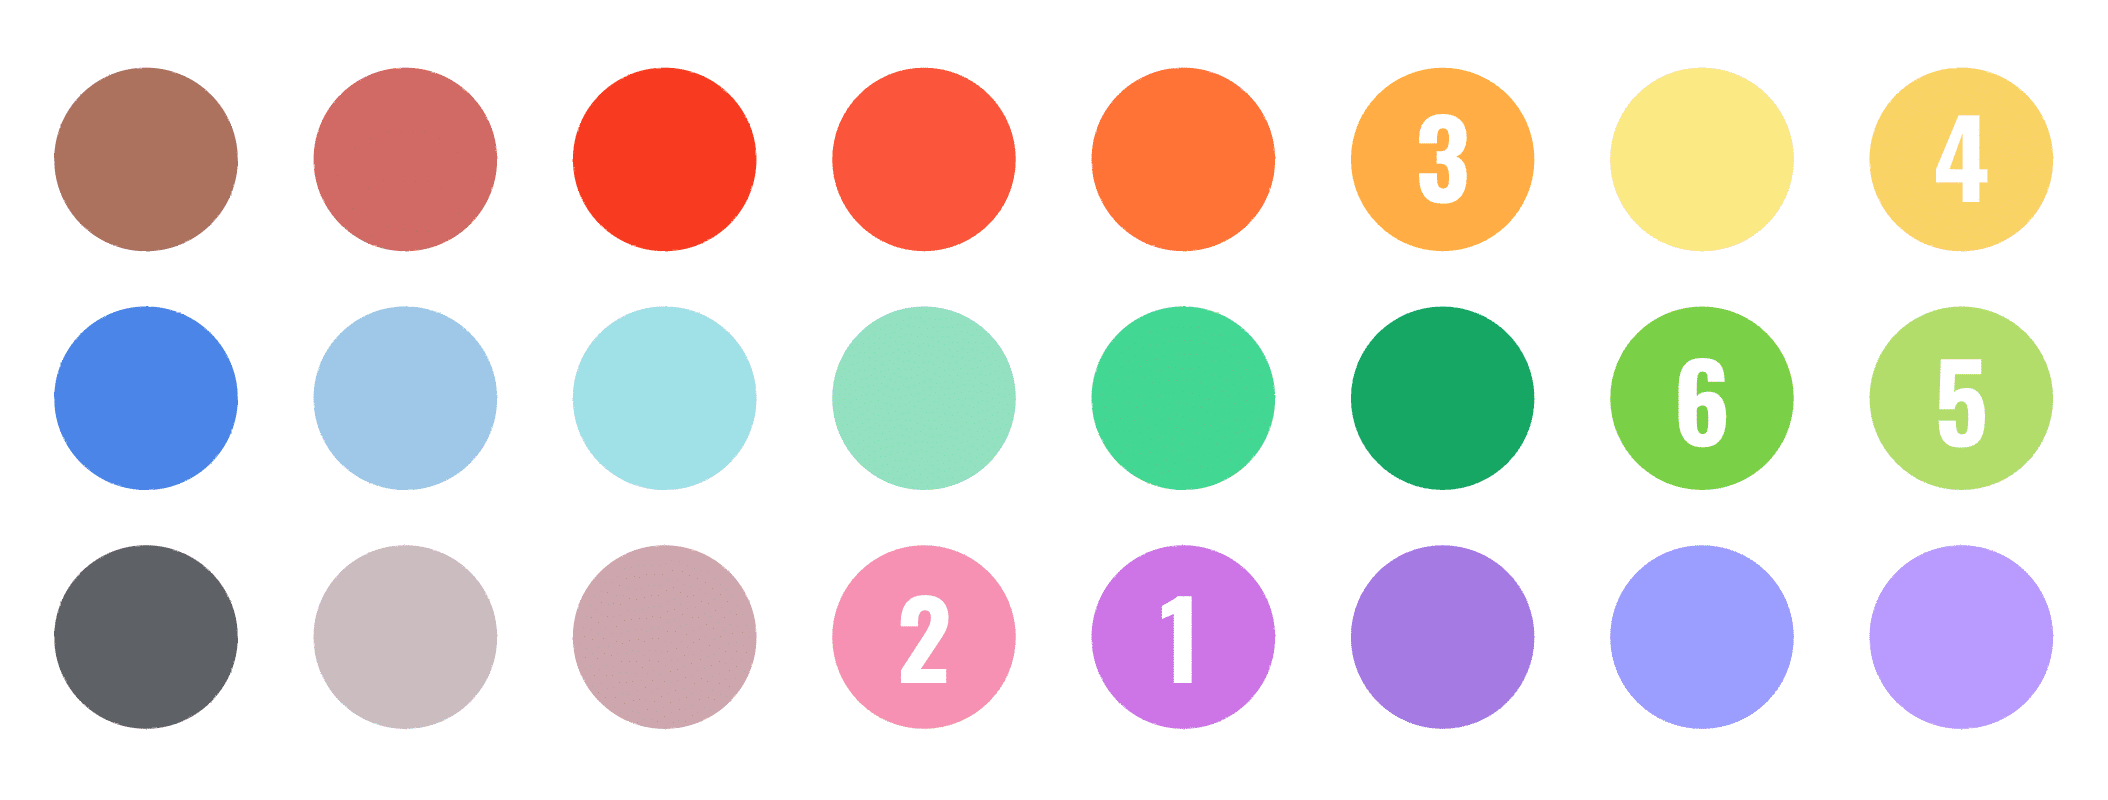
If you have LOTS of folders, you can always repeat the color sequence as well for visual appeal! In this example, I chose six colors, then reversed the order for a nice ombre effect:

Color Coding Sub Folders
Once you have your basic folders set up, it can be helpful to use the same colors within those folders for your sub folders.
If my Math folder is purple, I like to keep that same shade for all of the units and resources within that parent folder:

I have a quick tip on color coding multiple folders at once here if you’d like to learn more: Color Code Multiples Folders in Google Drive (Instantly!). This is especially helpful if you are fixing up color coding of folders you’ve already created!
I hope these quick tips have been of help and will save you lots of time as your color code Google Drive folders! Please see below for more timesavers for Google Drive…

How to Create Custom Colors for Google Drive

create custom color swatches for google docs, slides, and sheets

12 Shortcuts for Google Drive
learn how you can work faster with this free cheat sheet
Kristen Beakey
I’m an elementary math coach with a passion for sharing beautiful, streamlined solutions to save teachers time. Ladybug’s Teacher Files has been a work of love since 2010. Filled with tech tutorials, math ideas, and organization…I strive to save you time in all aspects of your teaching!
Thank you so much!
Thank you for reading!!
I am still confused on how to select a color scheme for my google drive folders. When I select the sub folders and click organize it does not give me the option to select add hue.
Hi Melanie, thanks for reaching out about this! It’s not showing any colors when you click on Organize (under the three dots)?
What would you suggest for a Head of School? One thought I used to use was to create a folder for each letter of the alphabet. I could number place a number by each letter I suppose. I have so many different areas that I have folders for so I’m trying to imagine how I can apply this method since I do not have specific subjects that I teach anymore.
Thanks in advance.
Michelle
Hi Michelle! I think the alphabet idea sounds great! I am not in the same position as you but I would probably have some basic folder categories first (like classrooms, parents, etc.) and then sub folders within. But you would know best in your position! It does help me to sketch out a folder hierarchy sometimes so I can visualize it first. I hope this helps a bit. Thanks so much for reading!
Thank you SO much for sharing the actual colors you used for these… I have the hardest time with the way Google has these colors arranged!
Hi Jes! Yes, totally agree! It takes so much trial and error to see what looks good together. I’m so glad this helps…thanks for reading!
I found this very helpful. I was really looking for how to organize sub-folders and your article indirectly addressed that and gave me other great ideas.
1) I had numbered my main folders just by typing numbers, but now I’m going to try your excellent visually appealing number idea.
2) I’ve tried symbols on my main folder names but it looks cluttery to me when my main folders are also already color-coded. But I love the idea of the symbols at the subfolder level.
3) Your subfolders are all the same color as the main folder they fall under but are differentiated by a symbol. Yes!
4) I saw another video with the symbol idea (but not at the subfolder level!) and they suggested emojipedia. I don’t know if you tried that for that book symbol you so wanted. Just a thought.
Thanks so much. You had the best ideas I found for organizing down to the subfolder level. Thanks!
Hi Lori! Thanks so much for sharing all of this and for reading!! I didn’t know about Emojipedia back in the day when I first wrote this post. And I do agree with you, I find emojis cluttery-looking at times!!
Thanks again for all you shared!
Happy Summer!