How to Design Beautiful Google Docs
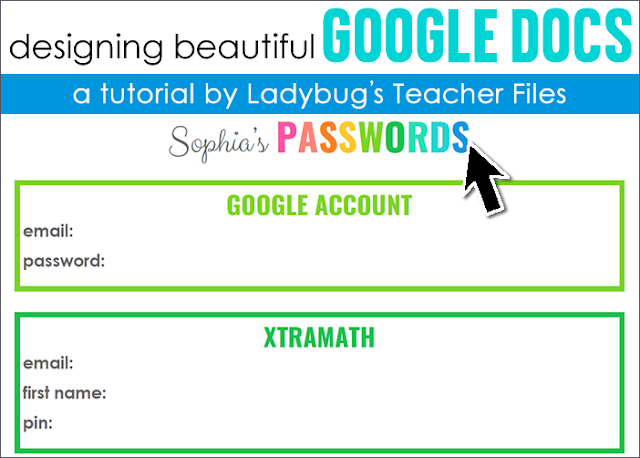
So I know I’ve blogged many times about how much I love designing printables in PowerPoint.
And I really do. But this year I’ve been learning more about creating documents in Google Docs. There are so many reasons to create in Google Docs…- You can share documents with your students and colleagues.
- Everything is instantly saved as you create.
- You can keep all of your classroom documents organized in your Google drive.
 (boring, right?)
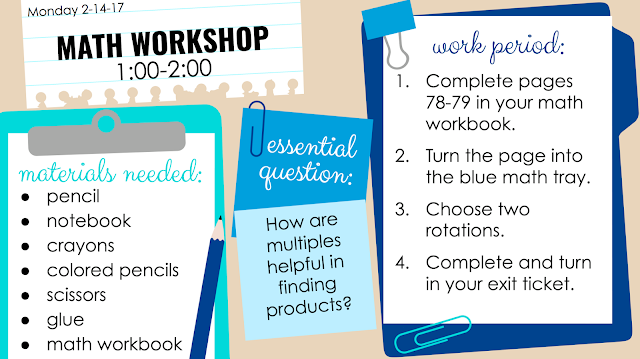
But it turns out there are actually a few ways to really dress up your Google Docs and make them a bit more eye-catching:
Would you like to try? Here are some tips and shortcuts to get you on your way…
Finding Your Favorite Fonts
Ok, the bad news is you cannot upload custom fonts to Google…which can be hard when you are so used to designing with your favorite fonts.
The good news? There are hundreds and hundreds of Google fonts to choose from…so it’s just a matter of finding a few of your favorites.
And it gets better.
There is a Google Fonts site that makes it a snap to browse the 809 (!!!) possible fonts you can add to your drive!
 (please click the image above for the link)
There are many convenient ways to navigate this site if you use the menu on the right. You can search by category, such as handwriting fonts:
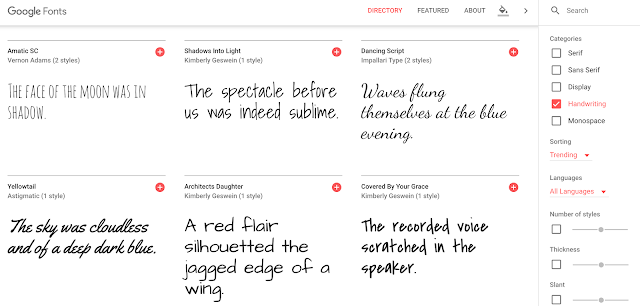
You can also refine your search by slant, width, etc:

AND…you can even type anything right under the font to test it out:
 Once you have an idea of the fonts you would like to use in Google Docs, you can add them in very easily. Keep the Google Fonts site open, so you can refer to the font name:
 Then head to your drive, create a new document, and choose the font drop-down menu. Select “More Fonts” at the end of the menu:
 This will take you to a pop up screen where you can search for your font:
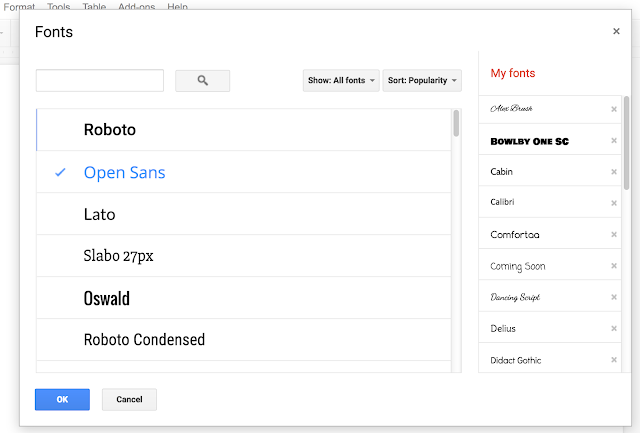
 Click on your font once it appears and then click OK:
 Now your new font will be part of your font list:
 If you’d like to remove a font from your list, you can follow the same process. Head into the font drop-down menu, choose “More Fonts”, and you will see your font list in the right-hand menu. Click on the x next to any font you no longer want, then OK:
 This will remove the font from your list.
I still have some more exploring to do, but here is a list of my current favorites for Google Fonts:
 I like to keep my font list pretty simple…it’s always nice to have a go-to san-serif font (I LOVE Century Gothic for this purpose) along with a few fun script and bold fonts.
Once you have all of your favorites selected, you can even set up a template doc….then you can just copy and paste the fonts into all new docs you make:
 Customizing Your Colors
So there’s a lot more freedom when it comes to color choice in Google Docs….you can actually use any color you’d like, as long as you have the html code of that shade.
Not sure about the html part? There are many websites with every shade of the rainbow, along with their digital value. Here is a great color picker site by w3schools.com:
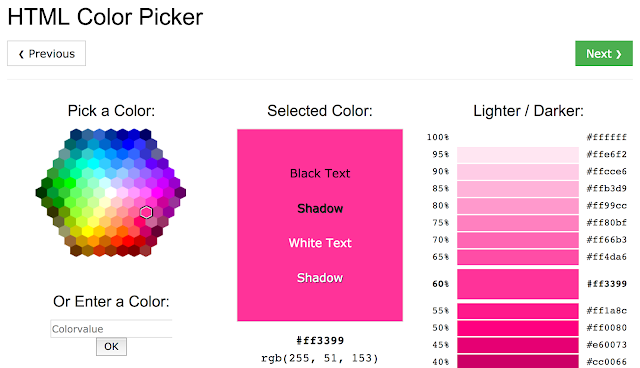 Once you find a shade you like, highlight the html code (the six digits with the #) and copy it:
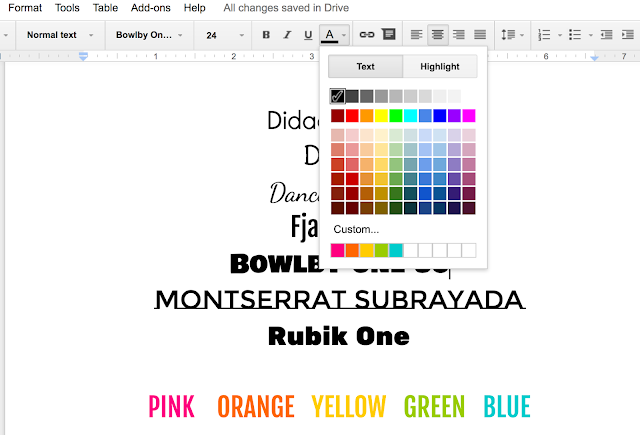
 Then, in Google Docs, choose the text color drop-down menu and click “Custom”:
 Now you can enter the html color code to get the exact shade you prefer:
 And you can now type in this color:
 As you keep adding custom colors, they will remain in the custom menu in this document:
 The custom colors won’t show up in any of your new docs automatically. However, there is a workaround to this…you can save this document (or even paste these codes into your favorite fonts document). The moment you paste these custom colors into your doc, they will show up again in your Custom menu:
 Customizing Your Margins
Now that you have more control over your fonts and colors, you can start to change the layout of the doc itself.
Google docs tend to have large margins in the header and footer. If you’d like to make better use of space and decrease these margins go to File, then Page Setup:
 Each margin is set at 1 inch and can be changed. I usually change all to
zero, but you can just change the top and bottom if you’d like to
only control those extra spaces:
 This will bring your font to the top of the page:
 And allow you to create the amount of space you would like at the top of the document:
 Using Tables for Pops of Color
One of the downfalls of Google Docs is you aren’t able to import fun borders for your printables (though you can in Google Slides, more to come on that in the next blog post!). You can use tables, however, and customize those with your favorite colors. You can use one large table cell as the border of the whole doc, or a series of cells for multiple boxes.
In the student password doc I created, I set up a table with one column and nine rows:

If you set your side margins to zero, the table will appear very wide…but can be adjusted by dragging one of the sides to make it more narrow.
To give the illusion of a series of boxes, every other row will need its border deleted. This will make the nice white space between each box. To do so, click inside the second cell, then click the arrow on the right-hand side of the cell: Then, choose the outline to select the entire cell:
 Now that the whole cell is selected, change the border to zero:
 The same can be done to every other cell, leaving a table that looks like this:
 Now click inside the first cell and choose your custom color for the border or fill. You can change the border’s width as well:
 To make the space between your boxes smaller, simply click in the cells and choose a small font size (I changed my font size to 8 for each of the blank rows below:
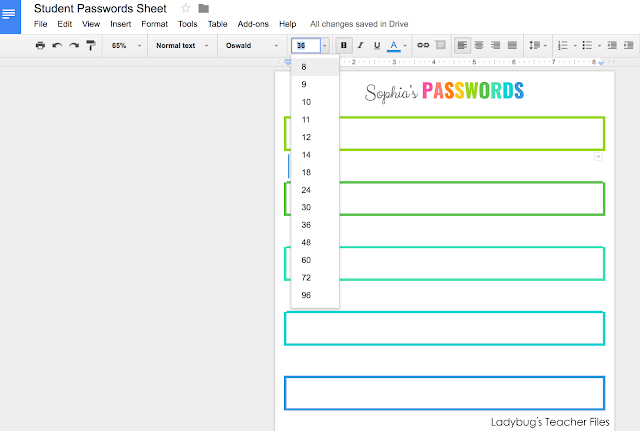
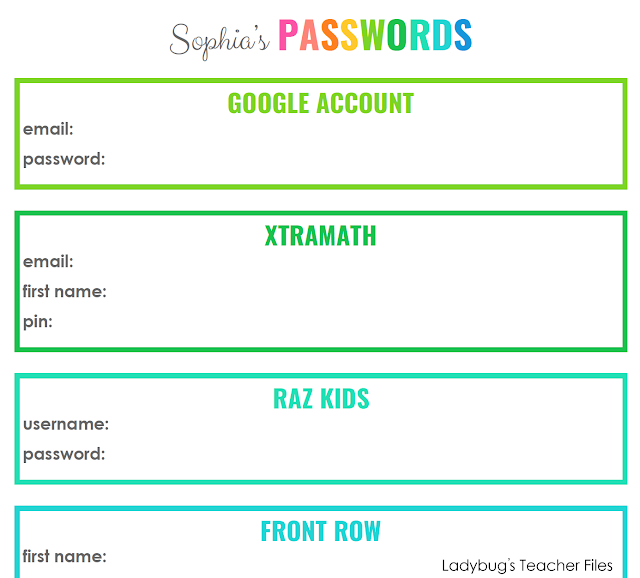
 Now you can type in each cell with your custom fonts and colors!
 To save time, you can select the font combos you chose and just paste them in the next cell. Then you can alter the colors and phrasing in each:
 Printing Your Docs
Once you are finished creating, you can click the printer icon right under the File menu. This will generate a PDF of your work:
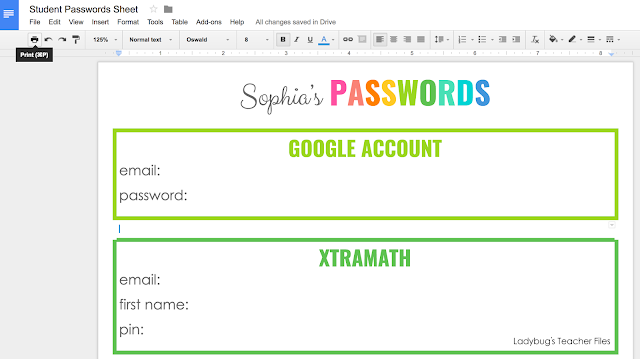 Please Note: Your docs will print best if you are working in Google Chrome…if you use a different browser, some of the fonts may not appear correctly in the PDF.
I hope these tips will help you with your future designs! I know I will be creating more docs in Google for my class, now that I know how to customize the look.
Would you like to use Google to organize your classroom but aren’t sure where to get started? Lessons at a Glancehas been so helpful in keeping my students (and myself!) organized and
ready this past school year…and I can’t wait to use it again this
year! Please click the images below to see more about this resource…
Kristen Beakey
I’m an elementary math coach with a passion for sharing beautiful, streamlined solutions to save teachers time. Ladybug’s Teacher Files has been a work of love since 2010. Filled with visual tech tutorials and easy-to-implment math ideas…I strive to save you time in all aspects of your teaching!
