


A Google Drive Seating Chart
share this timesaver:

Ah, seating charts…such a joy to formulate each time. Or not.
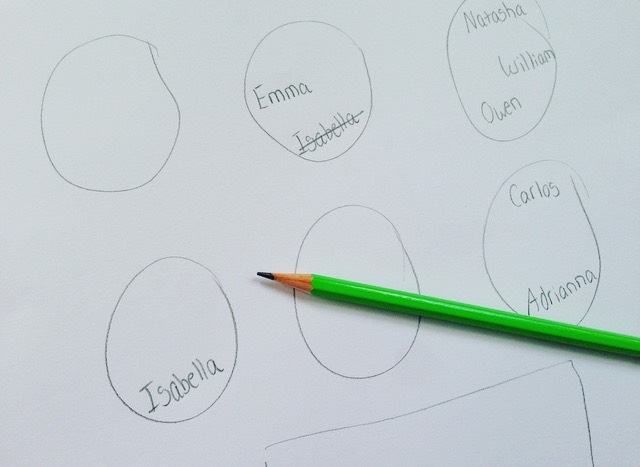
If you are anything like me, you hastily sketch out a new plan at the absolute moment of necessity (those seats MUST be changed now!!) on a random piece of scrap paper lying nearby.
And forget at least two names.
Then recount how many are on the plan.
And proceed to scratch out and move names again and again.
Then perhaps lose said plan once or twice before finally rearranging the actual seating…
I’m not alone in this, am I?? Honestly, seating charts are just one in a hundred-thousand tasks teachers must maintain and they can quickly become another stressful burden. So this year, I decided to take control of my chart chaos…and thought the best way to do so would be to go interactive with Google slides (thankfully, nothing can get lost in my Google Drive). Plus, it turns out it’s very easy to make an eye-catching plan!
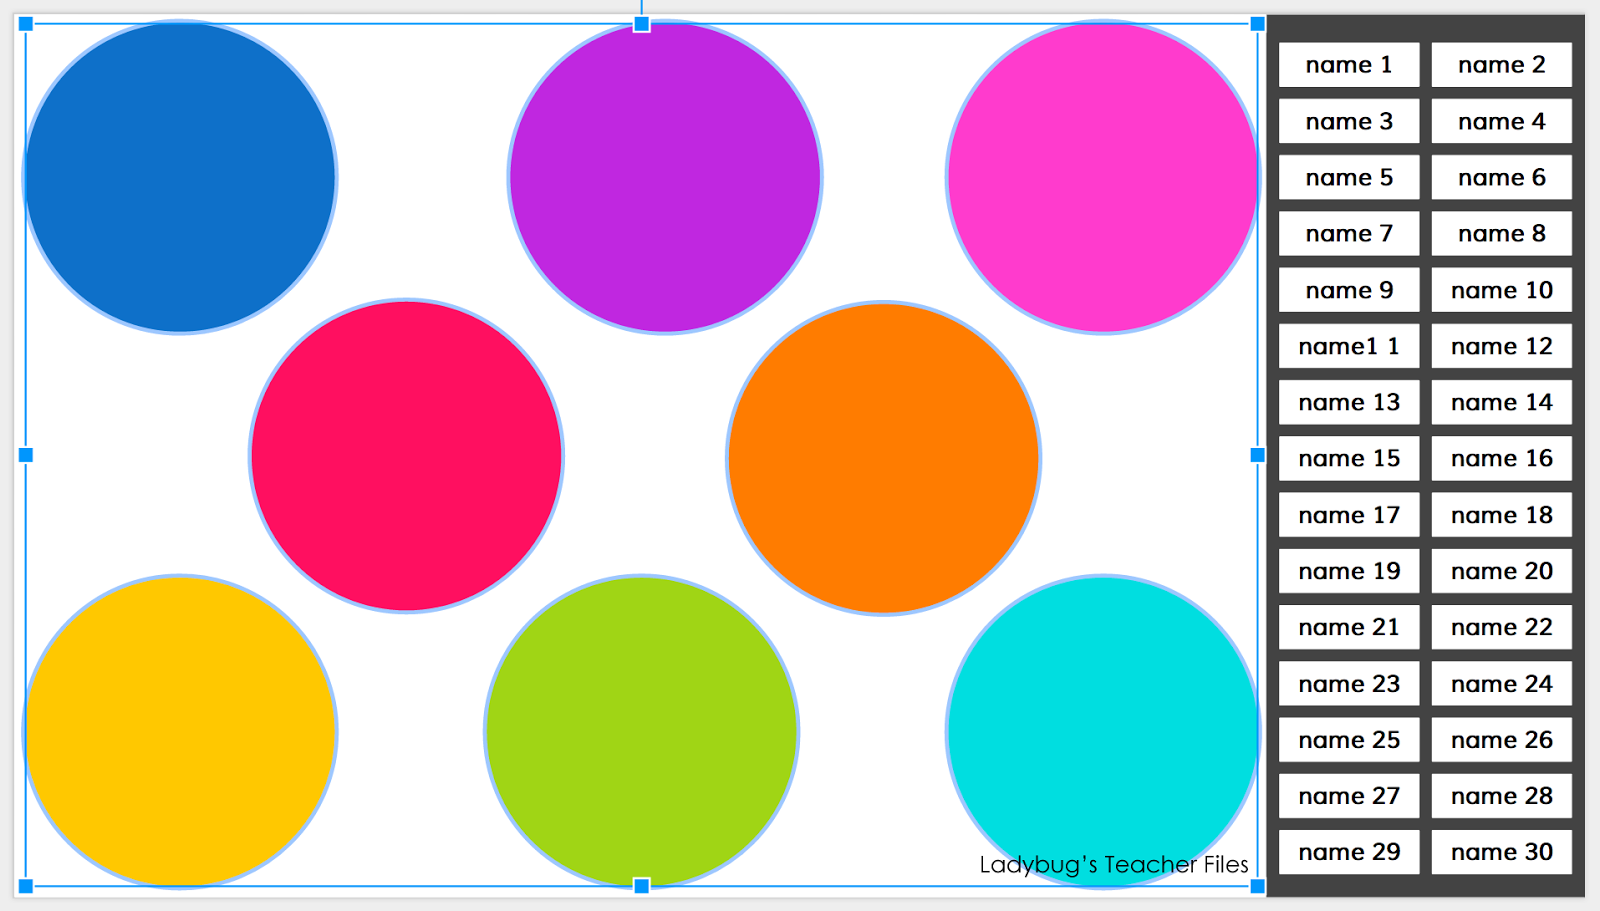
To help you on your way, I made a template to save in your Google Drive:
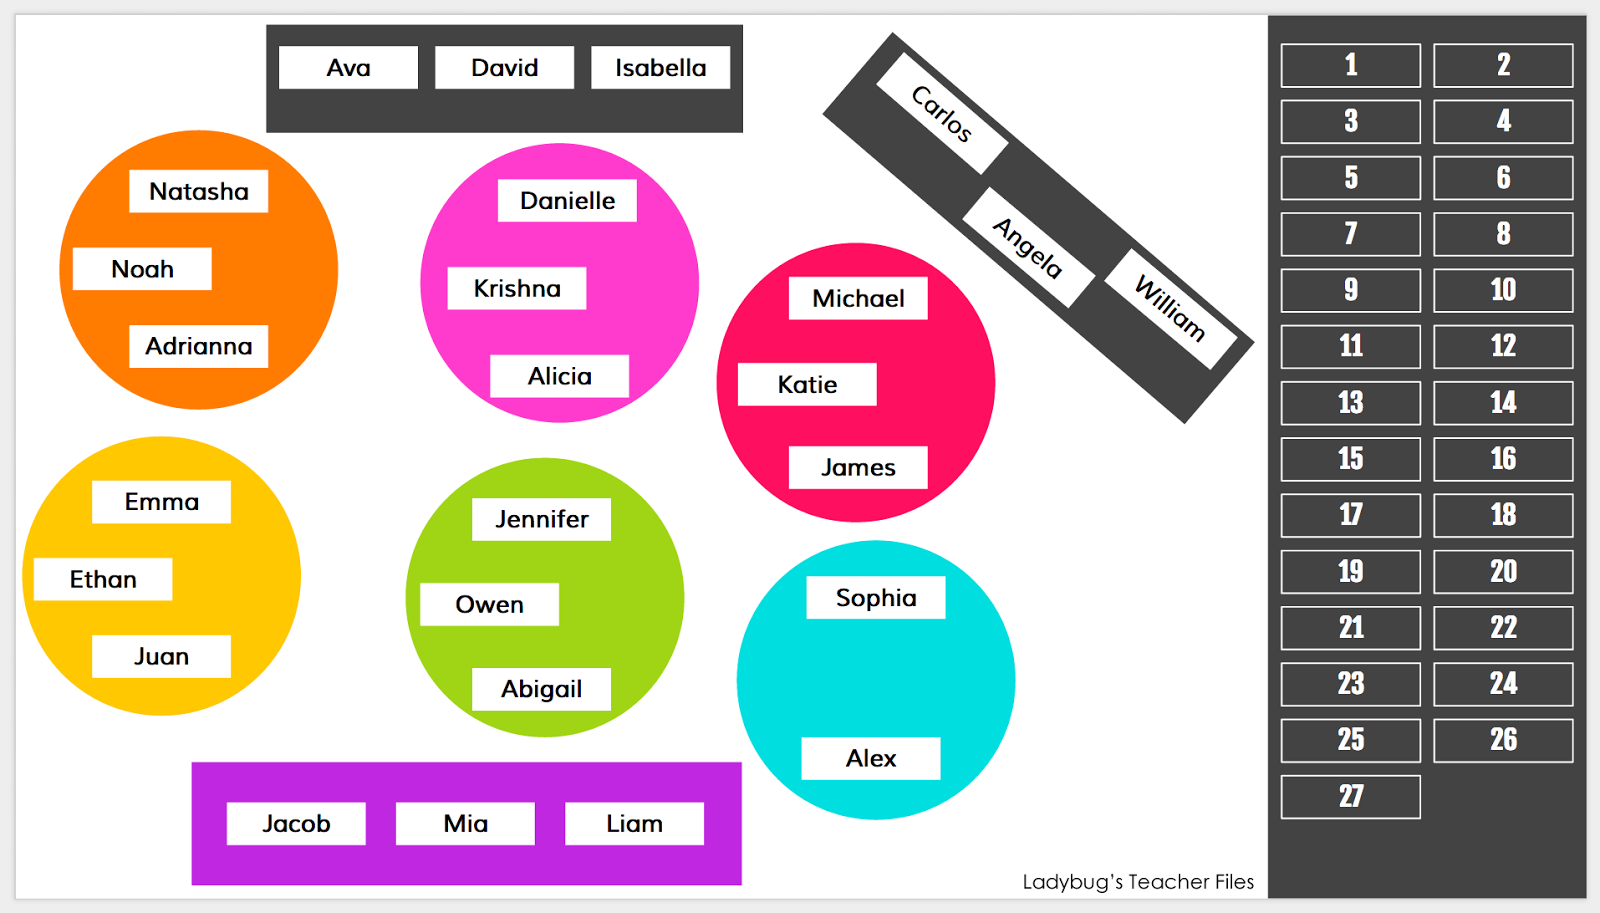
This template has two sections…one chart with circles that can be used as tables, as well as another with squares to be used as desks:

Since we all have such different seating arrangements, the following steps will show you how to use this template to best work for your classroom…
If you would like to use one of the templates in the file, go to the sidebar and click on the one you do NOT want to use and then delete:

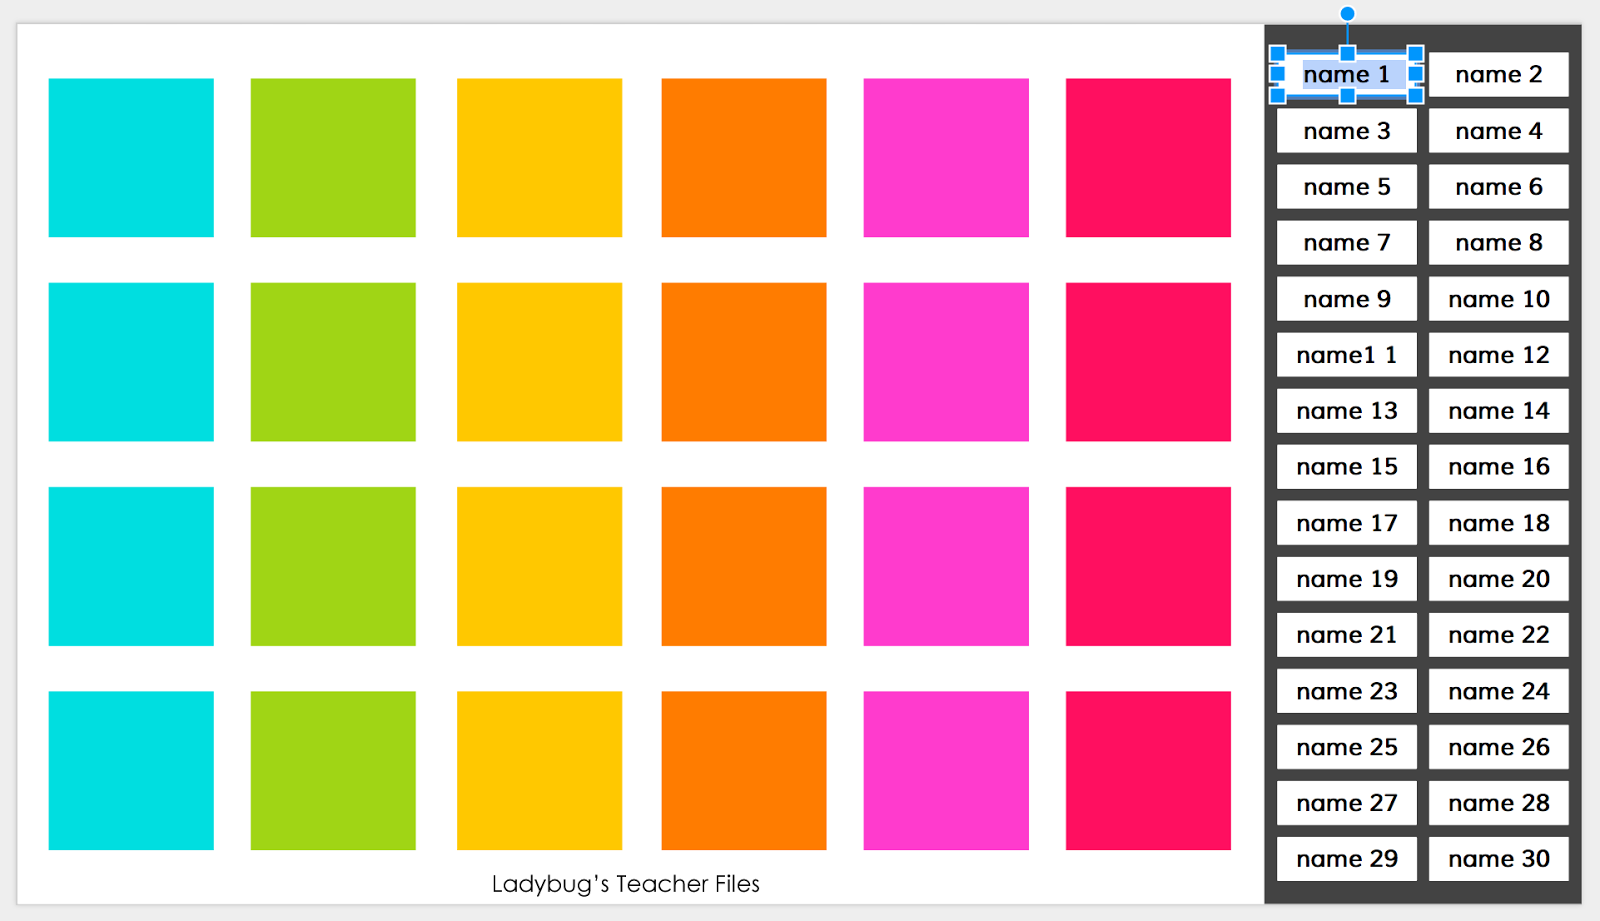
Now you can modify the slide you would like to work with. If you are using the desk template, you can click and drag the squares into the formation you use in your class:

You can also create additional squares by copying and pasting the current squares in the document. Need more space? You can click on all of the squares and change their size. Everything can be modified in this slide until you have the idea layout.
Do you need a totally different configuration than the ones provided? Go into one of the slides (such as the circle tables), select all of the circles, and then delete:
You now have a blank canvas to work with. To select your own shapes for seating, go to the Shape drown down menu and select one:

Keeping the shape selected, remove the gray border by clicking on the Line Color drop down menu and choosing Transparent:
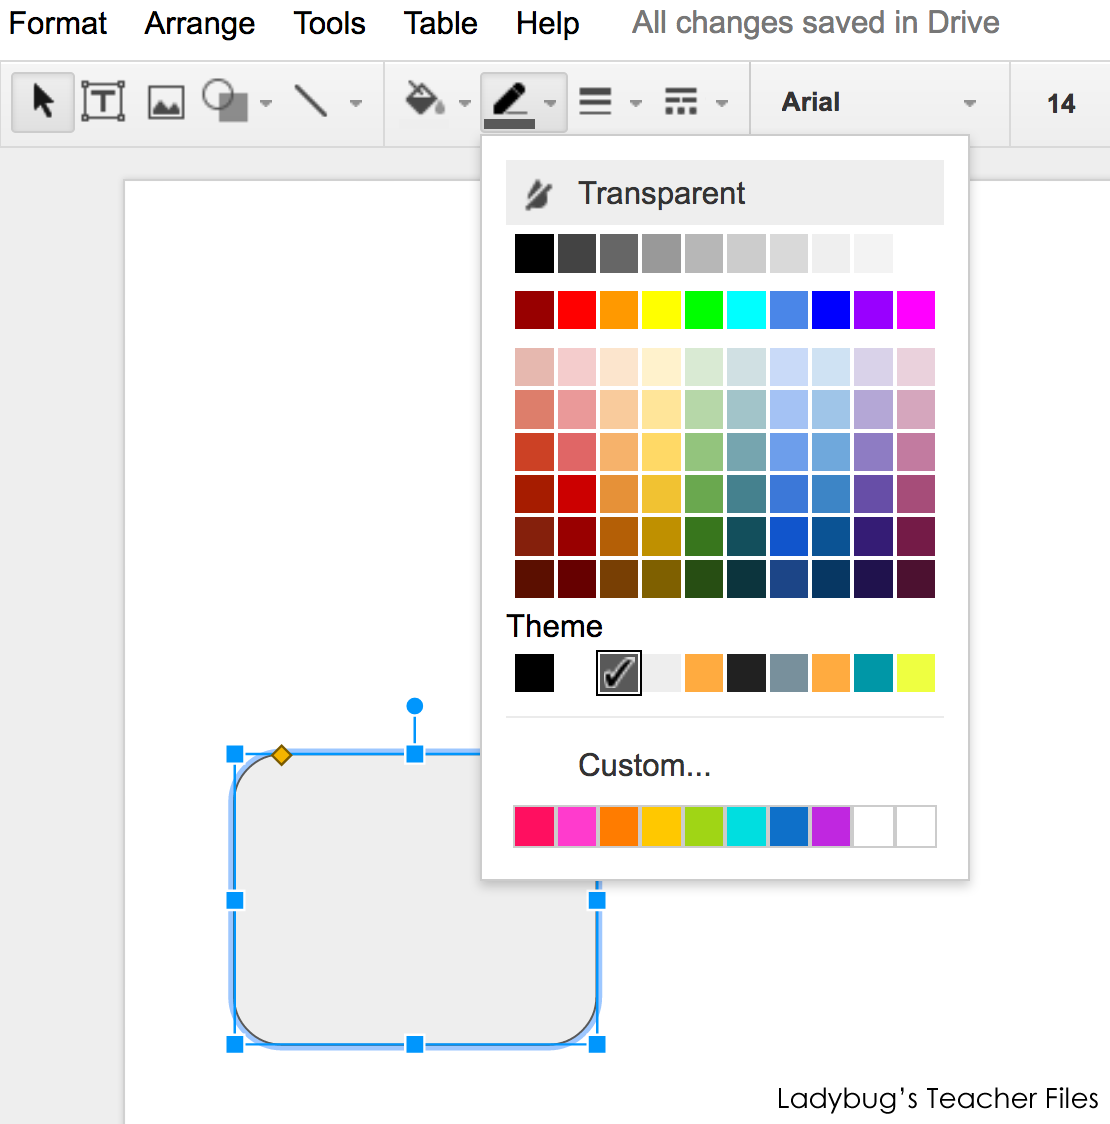
Then, change the color of the shape by clicking on the Fill Color drop down menu. This template includes some nice, bright custom colors for you to choose from (or you can choose your own favorite shades):

Now you have your first seating piece to work with!

There are many shapes to work with in Google Slides, so you can really recreate your seating setup. I don’t focus *too* much on the perfect layout of my classroom. Instead, I try to set up a shape for each of my seating types so that I can easily place my students each time we switch seats. This is an example of my sister’s Kindergarten class setup…we focused more on recreating her table shapes rather than making a perfect map of the classroom, it’s really just about knowing who is sitting where:

Using different shapes will also be very helpful for those of you who are working with flexible seating:

Once you have created the layout that best represents your classroom, it is time to add the names. I created a name menu on the right-hand side of the screen with textboxes for each student. To add your student names, click in each text box three times to highlight the text:
Then type your students’ names right over the text:

You can delete any textboxes you don’t need (or create additional ones of your own for larger classes). Now here comes the fun part! To start arranging your chart, simply click on each student’s name and drag the textbox to the seating of your choice:

You will notice a number spot for your student as you drag their name to a seat. This makes it easy to return the name textboxes back to the menu if need be. If you don’t like to use numbers for your students, you can easily modifying these black textboxes by clicking twice inside and typing your students’ names instead:

The textboxes can be arranged in any formation as well:

They can even be rotated:

Once you have your current seating chart created, you can duplicate it so it can be changed in the future. In the sidebar, click on your current slide and then Command + D (or go to Edit, then choose Duplicate):


Please Note: If you keep the same room arrangement for the whole school year, it will be best to duplicate your slides BEFORE placing your students at seats…that way you have a year’s worth of slides ready with your students’ names in the right-hand menu, all ready to arrange. Need to print your plans for your substitute plans? There’s a way to print them without the black sidebar. Click on the print icon:
Open the file with Adobe Reader (it’s a free download):

Go to Edit and then Take a Snapshot:

Select the area you would like to print:
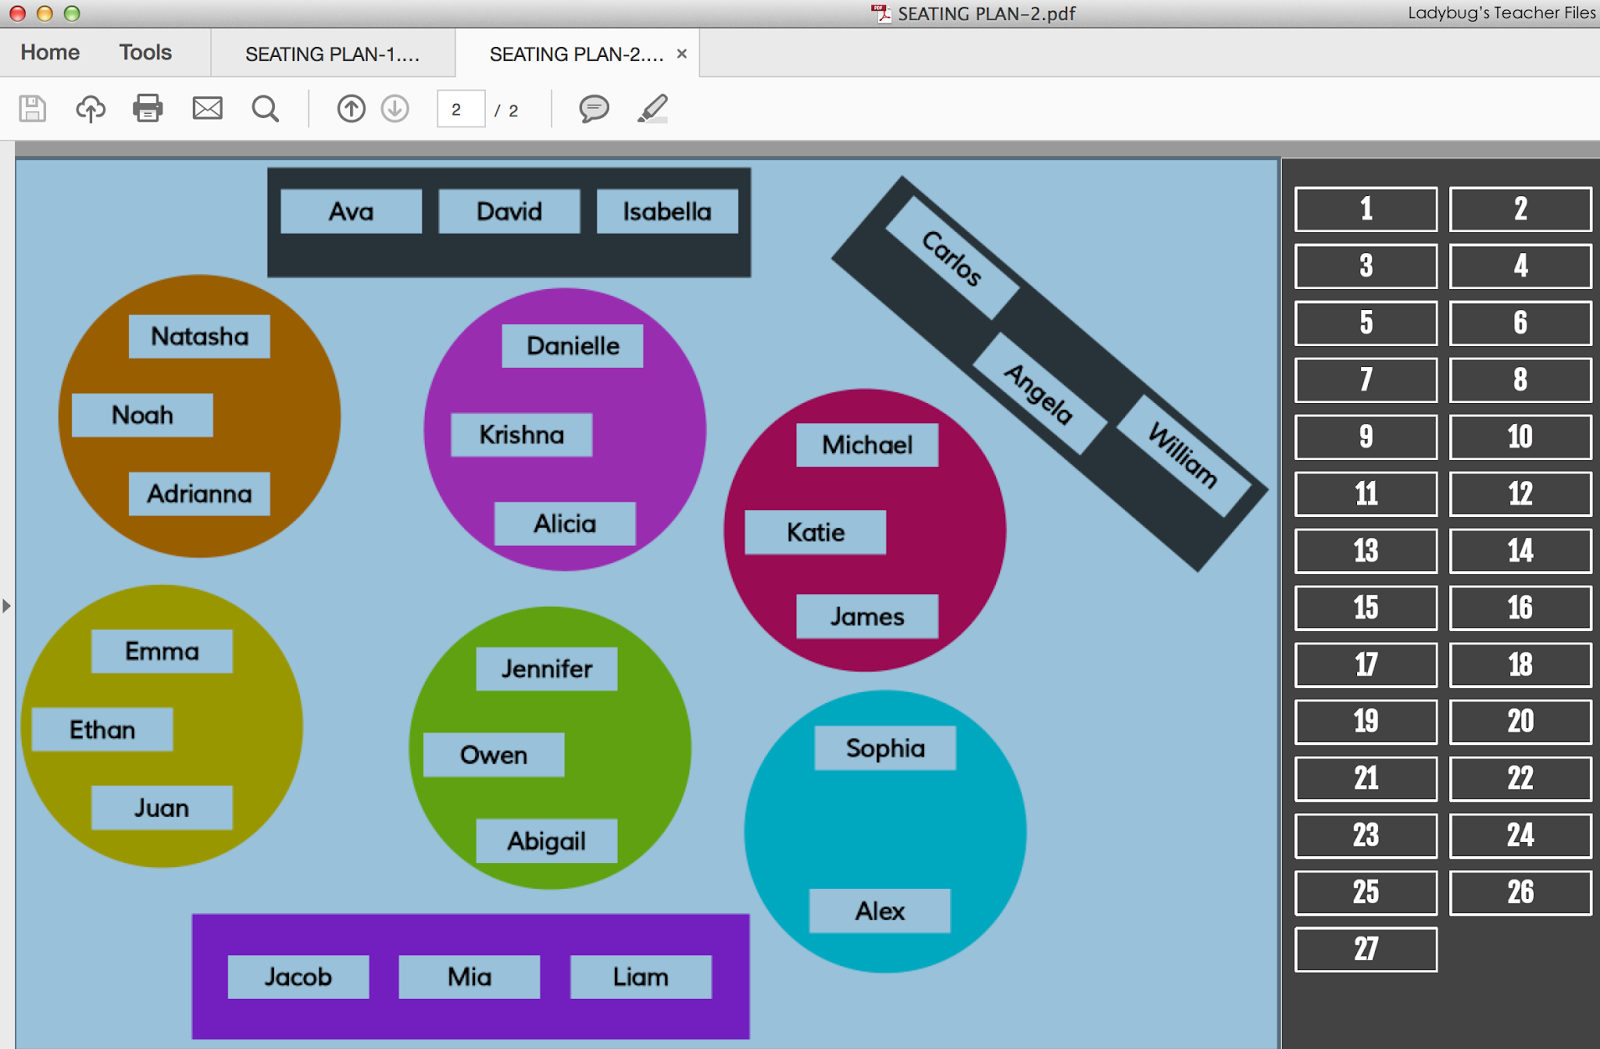
Now you will have a nice paper copy of your plans, without wasting ink on the sidebar.
Would you like to use Google to organize your classroom but aren’t sure where to get started? Lessons at a Glancehas been so helpful in keeping my students (and myself!) organized and
ready this past school year…and I can’t wait to use it again this year! Please click the images below to see more about this resource…
Kristen Beakey
I’m an elementary math coach with a passion for sharing beautiful, streamlined solutions to save teachers time. Ladybug’s Teacher Files has been a work of love since 2010. Filled with tech tutorials, math ideas, and organization…I strive to save you time in all aspects of your teaching!
Hi! I just tried downloading this template and got a “Page not found” error message. I saw the previous comment on the link being fixed but it is not appearing to be fixed!
Hi Lexie,
I just checked the link and it seems to be working ok! Could you try to clear your browser cache and see if it works now? Thanks!
Kristen
Hi there
The link for this Google slide seems to be broken. Are you able to repost it?
Or direct me where to buy it from?
Thanks!
Just fixed it, thanks for letting me know Mel!!
Hi! I’m so excited to try this beautiful template! Making seating charts always gives me such anxiety…this is going to help so much! Question…is there an option to randomly place students once I’ve typed in the names?
Hi Beth! It won’t place them randomly, you can click and drag the names to the seats you’d like for them! Thanks so much for reading!!
Hello,
It looks like the link is broken. Is there a tutorial on how you made the student menu?
Or can you repost the link to the template?
Thank you
Hi,
I would love a copy of the seating template, but when I click on the image it takes me to flodesk.com. What am I doing wrong?
Thanks!
LW
Hello!!
I was wondering if the link is correct? When I downloaded mine, there wasn’t squares/circles or the same color scheme!
Hi Kaleigh!
There should be two slides with the squares/circles plus a new slide with any updated layout…you can also click on any of the shapes to change the sizes and colors to any layout you’d like. Please let me know if you have any other questions and I hope this helps!
Thanks for reading!
Hi Karli! Thanks so much!
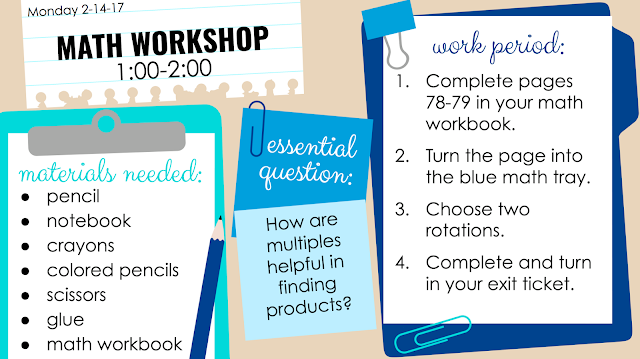
Yes, I LOVE using Google Slides for so many things! I post our agenda for each lesson on my classroom TV with Slides (you can see an example just above your comment) so my students can see what they need, the essential question, what we will be working on, etc.
I also like to post math problems and questions on Slides…same for Science and other subjects. We rely on Slides a ton!
Thanks so much for visiting my blog and best wishes for your work at University!
Kristen
This is such an amazing way to use Google Slides that I would not have thought about! Have you used Google slides in other ways to help you organize the class or classroom? I am still a student at University, but I know this will be helpful information that I will use in my future classroom! Thanks for all the hints, tricks, and help!